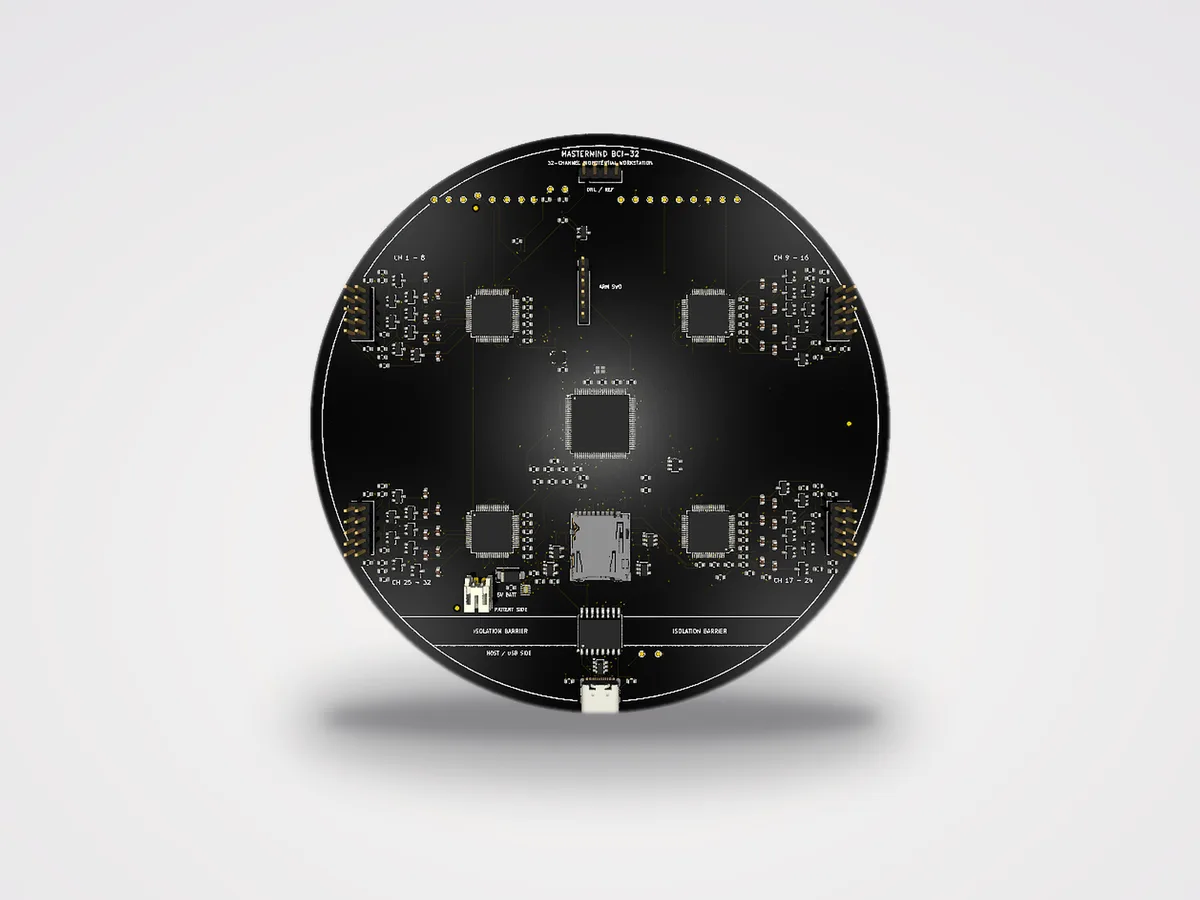
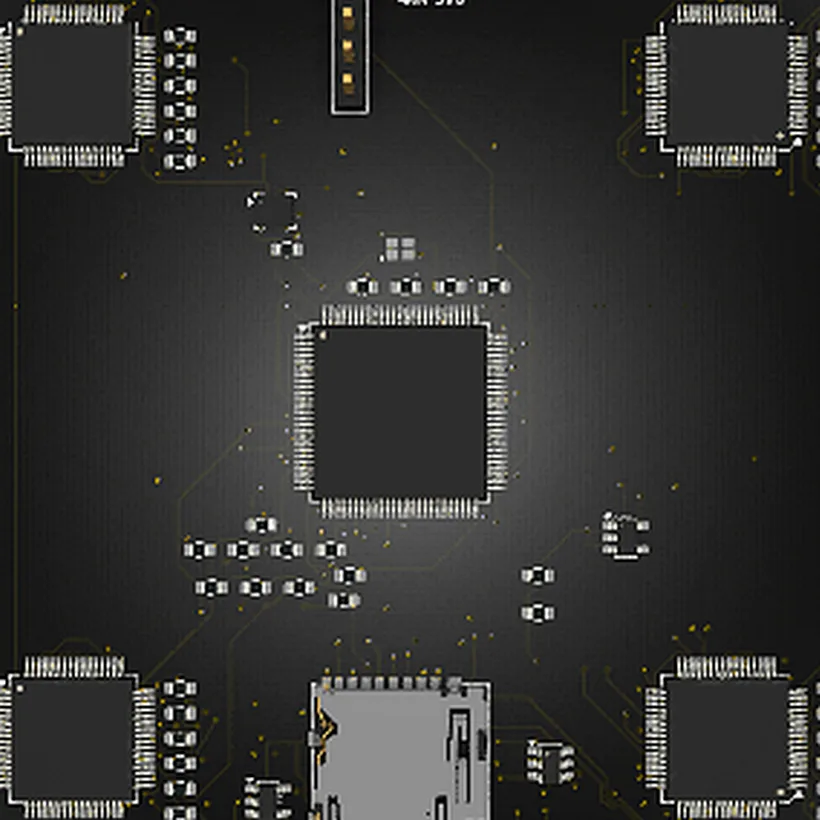
32 clinical-grade channels from 8× TI ADS1299 front-ends, driven by a 480 MHz STM32H7 with fully customizable open firmware. Every box includes a genuine ST-LINK/V3 MINIE programmer/debugger and the firmware download file — flash it with STM32CubeProgrammer and make the hardware truly yours.


No dongles sold separately, no "debugger probe sold separately." The BCI-32 kit is everything you need to record on day one and reprogram on day two.
32-channel AFE in an ESD bag, with conformity & QC test report serialized to your unit.
Genuine STMicroelectronics SWD/JTAG probe — flash and debug your custom firmware over the onboard SWD header.
Email delivers the matching .hex/.elf build, release notes and test log, plus the full source repository.
Shielded USB-C cable, ribbon header quick-start, and printed STM32CubeProgrammer flashing guide.
| Subsystem | Detail |
|---|---|
| Channels | 32 EEG channels + 2 references + bias driver (SRB1/SRB2 selectable) |
| Analog front-end | 8× Texas Instruments ADS1299 — 24-bit delta-sigma, ~0.5 µVrms input-referred noise, programmable gain 1–24× |
| Bandwidth | DC–535 Hz programmable per ADS1299 config; onboard configurable HPF/LPF stages |
| Sample rate | 250 / 500 / 1000 / 2000 / 4000 / 8000 / 16000 Hz (firmware selectable) |
| MCU | STM32H743 @ 480 MHz, 2 MB flash / 1 MB RAM — runs your firmware, not ours |
| Streaming | USB-C (CDC bulk, 2 MB/s), Lab Streaming Layer (LSL), OpenBCI GUI-compatible serial protocol, optional UDP |
| Recording | microSD slot, industrial-rated — ~11 days of 32 ch @ 500 Hz on a 32 GB card |
| Debug | Standard ARM 10-pin SWD/JTAG header, shipped with ST-LINK/V3 MINIE + STM32CubeProgrammer profile |
| Lead-off detection | Current-injection impedance test on all 32 channels, reported per sample packet |
| Power | USB-C or 1S LiPo (JST-PH), onboard charging, ~9 h portable recording |
| Isolation | Digital isolation on USB path; patient-connector isolation available on request (see BCI-32-M) |
| Size / weight | 100 × 80 mm, 4-layer ENIG PCB · 62 g |
An electrode is just the transducer — the BCI-32's ADS1299 front-ends don't care what touches your scalp. What changes is contact impedance, and the board is built to handle the whole range.
Ag/AgCl cups with Ten20 paste and NuPrep skin prep sit at ~5–20 kΩ of skin impedance: the lowest noise and the choice for publication-grade EEG. Works with the standard cap or the custom electrode cap (cup holders).
Dry electrodes run 10–100× higher impedance with more motion artifact. The BCI-32 is built for them: gigaohm-class ADS1299 inputs, programmable 1–24× gain, bias drive, and per-channel lead-off detection so you see contact quality live. Great for BCI demos and neurofeedback.
Saline-soaked sponges or hybrid spring+gel electrodes split the difference — comfortable for long sessions, no paste cleanup, still moderate impedance. Plug into the Dupont header pins and record like anything else.
Connector heads-up: the BCI-32's electrode inputs are 2.54 mm header pins — leads must end in a female Dupont/Berg connector to plug in directly. Own electrodes with 1.5 mm DIN touchproof leads instead (most caps and clinical electrodes)? Use the Header Pin → Touchproof adapter — plug-and-play, no soldering or re-termination. Wet Ag/AgCl for best signal-to-noise, dry for speed; impedance check is one firmware command either way.
After purchase your shipping email includes a personal download link to the exact firmware build flashed on your unit, plus the full source tree. Re-flash it anytime — or fork it and build your own.
Demo generates a placeholder .hex so you can see the delivery format. Purchasers get the real signed build + source.
Why ship a debugger? Because "customizable firmware" is empty words without a way to flash it. The ST-LINK/V3 MINIE connects to the BCI-32's SWD header — bricked it while experimenting? Re-flash and you're running again in 20 seconds.
Plug the ST-LINK/V3 MINIE into your computer and connect its 10-pin ribbon to the BCI-32 SWD header. The board can stay powered over USB-C.
Select ST-LINK as the connection mode, port SWD, frequency 4000 kHz, mode Under reset. Hit Connect — the STM32H743 appears immediately.
Open the Erasing & Programming tab, choose your .hex (ours or your own compile), verify "Verify programming" is checked.
Click Start Programming. Flash takes ~8 s including full chip verify. The status LED blinks magenta during flash, then green on boot.
Reconnect USB-C and open the LSL recorder or the OpenBCI GUI — your custom firmware announces itself with a configurable device string.
The BCI-128 (128 channels) is built to order with a live instant quote — configuration takes two minutes.